Mini-split installation day: what to expect from start to finish
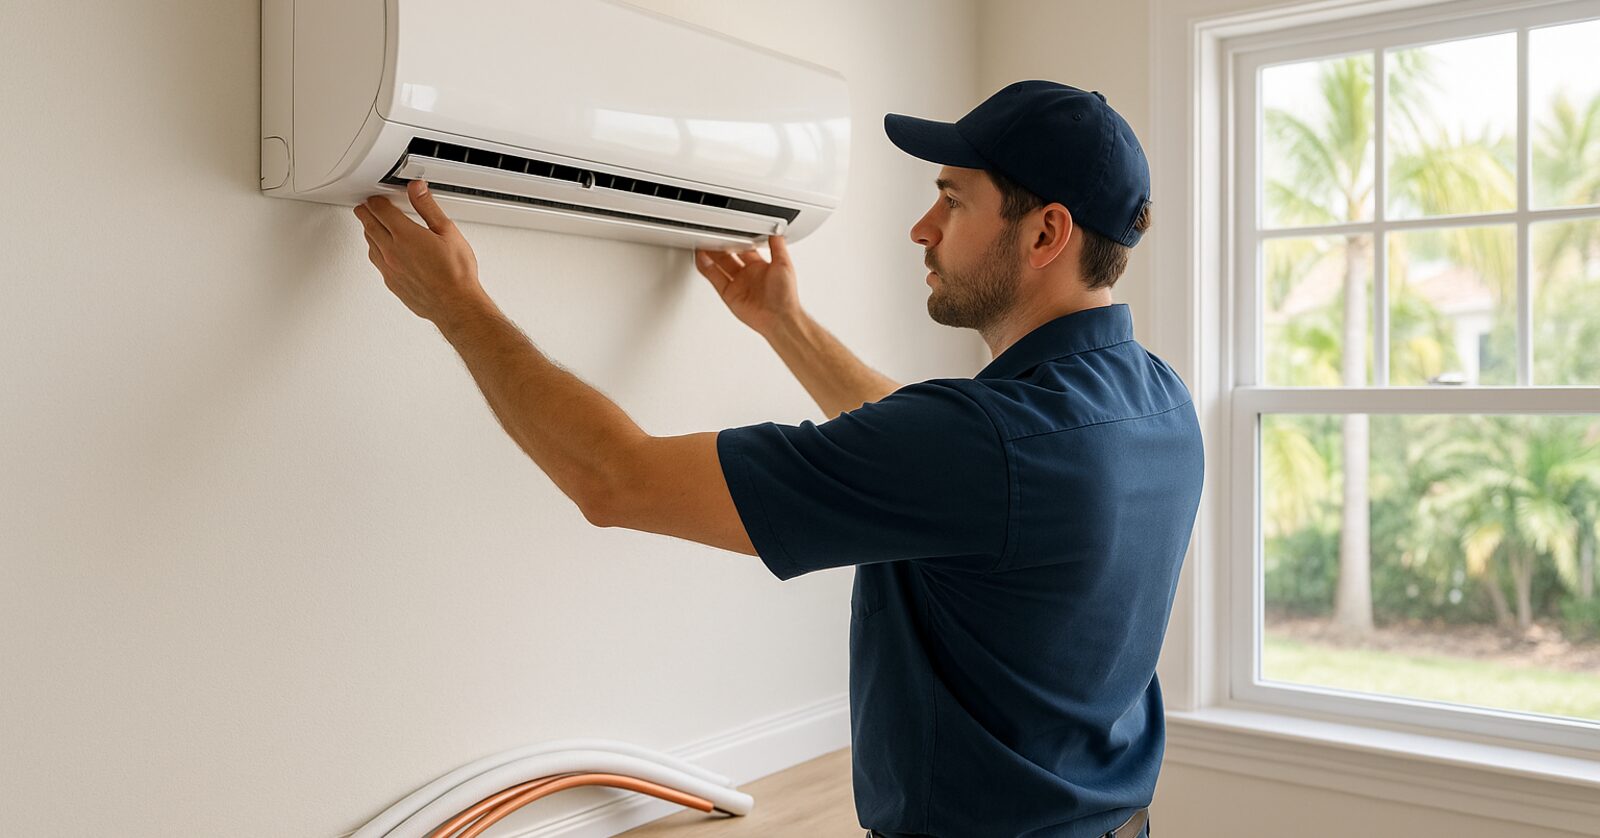
Your installers are pulling into the driveway, and you have no idea what the next few hours will look like. That's a surprisingly common feeling, and it's worth fixing before the truck arrives.
Mini-split installation is tidier and faster than most homeowners expect, but it still involves drilling through exterior walls, running refrigerant lines, and connecting electrical circuits. Knowing what happens at each stage helps you prepare your home, ask better questions, and feel confident that the work is being done right. This guide walks you through a full installation day - from the first knock on the door to the moment you hold the remote and feel that first rush of conditioned air.
Before the crew arrives: what you should do the night before
Good preparation on your end keeps the job moving and protects your belongings.
- Clear a path. Installers need unobstructed access to the wall where the indoor unit (the air handler) will hang, and to the outdoor area where the compressor (the condenser) will sit. Move furniture, wall art, and anything stored against the target wall.
- Know where your electrical panel is. The crew will need access to your breaker box at some point during the job. If it is in a closet or behind storage, clear it out the night before.
- Secure pets. Power tools, open doors, and strangers in the house are stressful for animals. Put pets somewhere quiet and safe before the crew arrives.
- Think about the line-set path. If you have already had a free quote and site assessment, the technician will have sketched where the refrigerant line set will run from indoors to outdoors. Review that plan so you can flag any last-minute concerns before drilling starts.
- Ask about the disconnect box location. Most local code requires a dedicated disconnect within sight of the outdoor unit. Know where your crew plans to mount it.
A few minutes of prep the evening before saves everyone time and prevents the awkward shuffle of moving a bookshelf while a technician stands waiting with a drill.
Step 1: arrival and walkthrough (roughly 15-30 minutes)
A professional crew does not walk in and immediately start drilling. The first thing they do is walk the job with you.
During this walkthrough, the lead technician will confirm the mounting location for the indoor unit, review where the line set will exit the wall and run to the condenser, verify the condenser pad or bracket location, and double-check that the planned electrical circuit route still makes sense. This is your best opportunity to raise any concerns. If you want the line set covered with a decorative line-hide channel rather than left exposed, say so now. If you changed your mind about the room where you want the unit, this is the moment to have that conversation.
If you are adding multiple zones, the walkthrough is especially important. The crew needs to confirm that refrigerant line runs to each room are practical and that the multi-zone condenser location gives adequate clearance on all sides. Our post on single-zone vs. multi-zone ductless systems has a good breakdown of what each configuration involves if you are still weighing your options.
Step 2: mounting the indoor air handler (30-60 minutes)
The indoor unit goes up first. Here is what the crew is actually doing during this phase:
Finding studs and marking the wall. The mounting bracket must be anchored to wall studs, not just drywall. The crew uses a stud finder and a level to mark the exact position. A crooked install looks unprofessional and can affect condensate drainage.
Drilling the line-set hole. A core drill (a large hole saw, typically 2.5 to 3 inches in diameter) cuts through the exterior wall at a slight downward angle toward the outside. This angle is critical: it ensures that any condensate or water that gets into the sleeve drains outward, not into your wall. If you hear a loud, sustained drilling sound, this is what is happening. It is normal, and it only lasts a couple of minutes.
Installing the wall sleeve and mounting plate. A plastic or metal sleeve protects the line-set hole from the elements. The mounting plate for the air handler is then secured to the studs.
Hanging the unit. The indoor air handler clicks onto the mounting plate. Most modern units weigh between 15 and 25 pounds, so two technicians typically handle this together to keep the unit level.
At this stage the unit is on the wall but not yet connected to anything. The crew will loop the refrigerant lines, drain line, and communication wiring through the wall hole and leave them hanging outside, ready for the next phase.
Step 3: setting the outdoor condenser (20-40 minutes)
The outdoor unit (the condenser) sits on either a concrete pad, a pre-made plastic pad, or a wall/roof bracket, depending on your property layout. Here in Sarasota and Bradenton, ground-level pads are common on single-story homes, while elevated brackets are popular for townhomes and second-story applications in places like Lakewood Ranch or Downtown Sarasota where ground space is limited.
The crew will:
- Level the pad or bracket before setting the unit down
- Position the condenser so its service panels are accessible for future maintenance
- Ensure there is adequate clearance on all sides for airflow (check your unit's manual, but 12 inches on the sides and 24 inches above are typical minimums)
- In coastal areas like Casey Key, Osprey, Anna Maria Island, and Nokomis, confirm the unit is elevated enough to stay above potential storm-surge splash or standing water
Salt air is genuinely harsh on condenser coils here on the Gulf Coast. If your installer does not mention coil protection or a corrosion-resistant coating for a coastal install, it is worth asking. Our seasonal maintenance checklist goes into detail on why this matters and what to do about it long-term.
Step 4: running and connecting the line set (30-60 minutes)
The line set is the bundle of refrigerant lines, electrical communication wire, and condensate drain line that connects the indoor and outdoor units. This step is often the most visible part of the installation to neighbors and passersby.
The crew will:
- Route the line set along the exterior wall, typically using plastic line-hide channel to protect and conceal it
- Flare the copper refrigerant lines at each connection point. Flaring is a precision process: the end of the copper tubing is shaped into a cone that seals tightly against the fitting. A bad flare is one of the most common causes of refrigerant leaks, so watch that your crew uses a proper flaring tool and inspects each connection
- Connect the drain line so condensate flows safely away from the foundation. In Florida's humidity, a mini-split produces a surprising amount of condensate water. A poorly routed drain line can saturate soil near your foundation or create standing water. Our post on why your mini-split may not be controlling Gulf Coast humidity as expected covers the humidity side of this in more depth
- Connect the communication wiring between the indoor and outdoor units
Once all connections are made, the crew will insulate the refrigerant lines with foam insulation and secure the line set to the wall at regular intervals so it does not rattle in the wind.
Step 5: electrical connections and the dedicated circuit (30-60 minutes)
Mini-splits require a dedicated circuit. The outdoor condenser typically runs on a 240-volt circuit (common sizes are 15A, 20A, or 30A depending on the unit's capacity), and most modern systems also need a separate low-voltage connection for the communication wire.
Your electrician or HVAC technician will:
- Run conduit or armored cable from your electrical panel to the outdoor disconnect box
- Install the disconnect box within line-of-sight of the outdoor unit, as required by the National Electrical Code and Florida building code
- Connect power to the condenser
- Ensure the indoor unit is powered as well, either from the same circuit or a separate one depending on the system design
This is the phase where having a properly rated circuit matters most. If you are ever uncertain whether your panel can handle the load, a full system design consultation is the right place to start before installation day.
Step 6: evacuation and refrigerant charge (30-45 minutes)
This is the step that separates a professional installation from a shortcut. Before any refrigerant is released into the system, the technician must evacuate the line set using a vacuum pump. Evacuation removes air and moisture from the copper lines. Air and moisture inside a refrigerant circuit cause corrosion, ice formation, and compressor damage.
A proper evacuation pulls the system down to at least 500 microns and holds it there for several minutes to confirm there are no leaks. You should see the technician attach a digital manifold gauge set and a vacuum pump to the service ports. If someone skips this step or only does a brief pull-down, that is a red flag worth raising.
Most modern mini-splits come factory-charged with enough refrigerant for up to 25 feet of line set. If your line set is longer, the crew will add refrigerant to compensate according to the manufacturer's specification.
Step 7: startup, testing, and your walkthrough (20-30 minutes)
Once the system is charged and the electrical connections are confirmed, it is time to power everything on. The technician will:
- Run the unit through its operating modes (cooling, heating, fan, dry/dehumidification)
- Check supply and return air temperatures to confirm the system is producing the expected temperature differential
- Verify that the condensate drain is flowing properly
- Test the remote control and, if applicable, connect the unit to Wi-Fi for app control
- Check for any unusual sounds or vibrations at both the indoor and outdoor unit
For Venice, Bayshore Gardens, or Lakewood Ranch homeowners who chose an inverter-driven system for energy efficiency, the technician may also walk you through the variable-speed operation and explain why the unit sounds different at startup versus steady-state operation. That quiet hum at cruising speed is intentional and is one of the reasons inverter mini-splits are so efficient.
After all checks pass, the technician should walk you through basic operation: how to set your preferred temperature, how to use the sleep or timer modes, and when to schedule your first filter cleaning. Getting the size right in the first place makes all of this work as designed, so if you have any lingering doubts about capacity, our post on whether your mini-split is the right size for your space is worth a read.
How long does a full installation take?
For a single-zone system on a straightforward single-story home, most installations run between 3 and 5 hours from arrival to final walkthrough. Add roughly 1 to 2 hours per additional zone for multi-zone systems. Unusual situations, such as a very long line-set run, a panel upgrade, or a difficult condenser mounting location on a tight property in Downtown Venice or on a Casey Key canal home, can push a job closer to a full day.
What to watch for on installation day
A few specific things indicate a quality installation:
- A vacuum pump is used before refrigerant is released. No exceptions.
- The line-set hole has a slight downward pitch toward the outside.
- Flares are cut with a proper flaring tool, not improvised.
- The condenser sits level on a stable, elevated pad.
- A disconnect box is installed within sight of the outdoor unit.
- The technician explains the operation and filter maintenance before leaving.
If you have questions about any part of what you observed, ask before the crew packs up. A good technician is happy to explain their work.
Ready to schedule your installation?
Understanding the process makes installation day far less stressful, and the result, a quiet, efficient system delivering perfectly conditioned air, is well worth a few hours of controlled activity in your home. We serve homeowners across Sarasota, Bradenton, Lakewood Ranch, Venice, Osprey, Nokomis, and the surrounding communities along the Gulf Coast.
To find out what a system would cost for your specific home, take a look at our mini-split pricing guide or request a free on-site quote and we will walk you through everything before a single drill touches your wall.